Globus step-by-step guide
1. Create (new) identity for login
If you are not yet logged in to Globus, clicking on this link will produce a page like this.
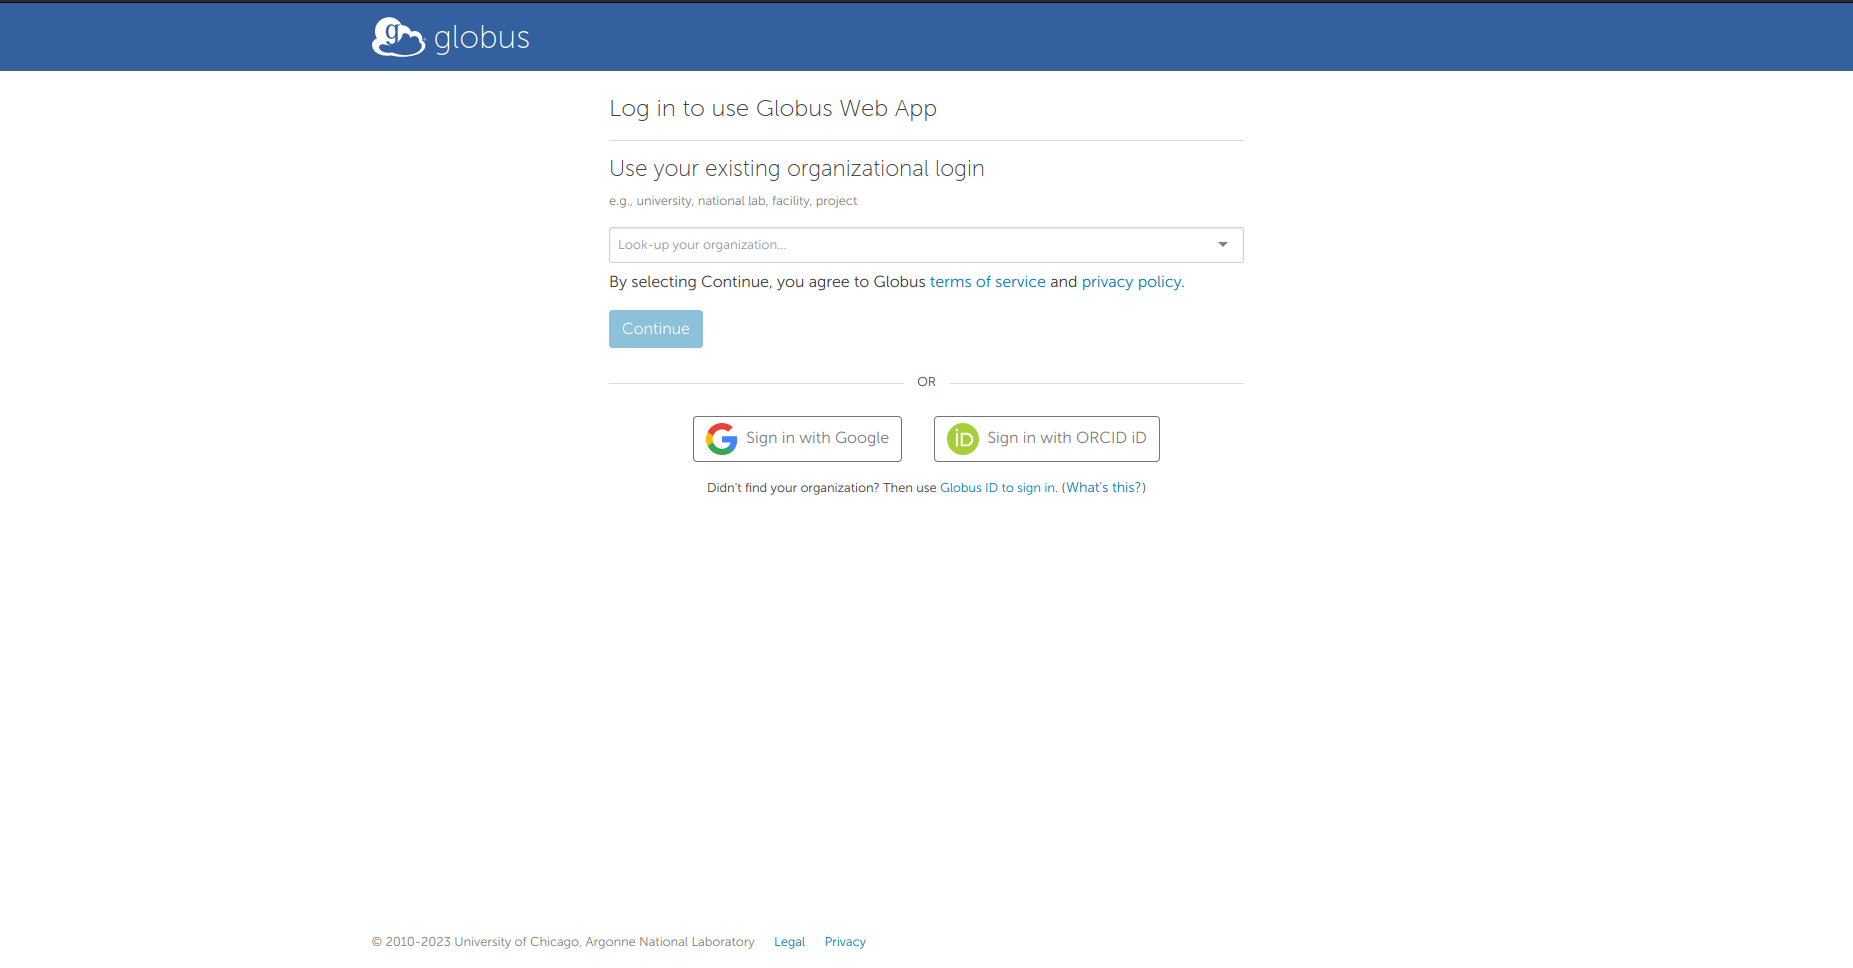
Here you can choose your preferred method of authentication by selecting your institution in the drop-down menu (if present) or clicking on the Google or ORCID buttons. Finally, if none of these works for you, you can follow the link to the GlobusID webpage, which allows you to create an identifier within Globus itself and log in using it.
Once logged in, you will be asked to fill in additional personal data, as your name, institution and accept terms of use. Once you complete this step, the following page will be displayed.
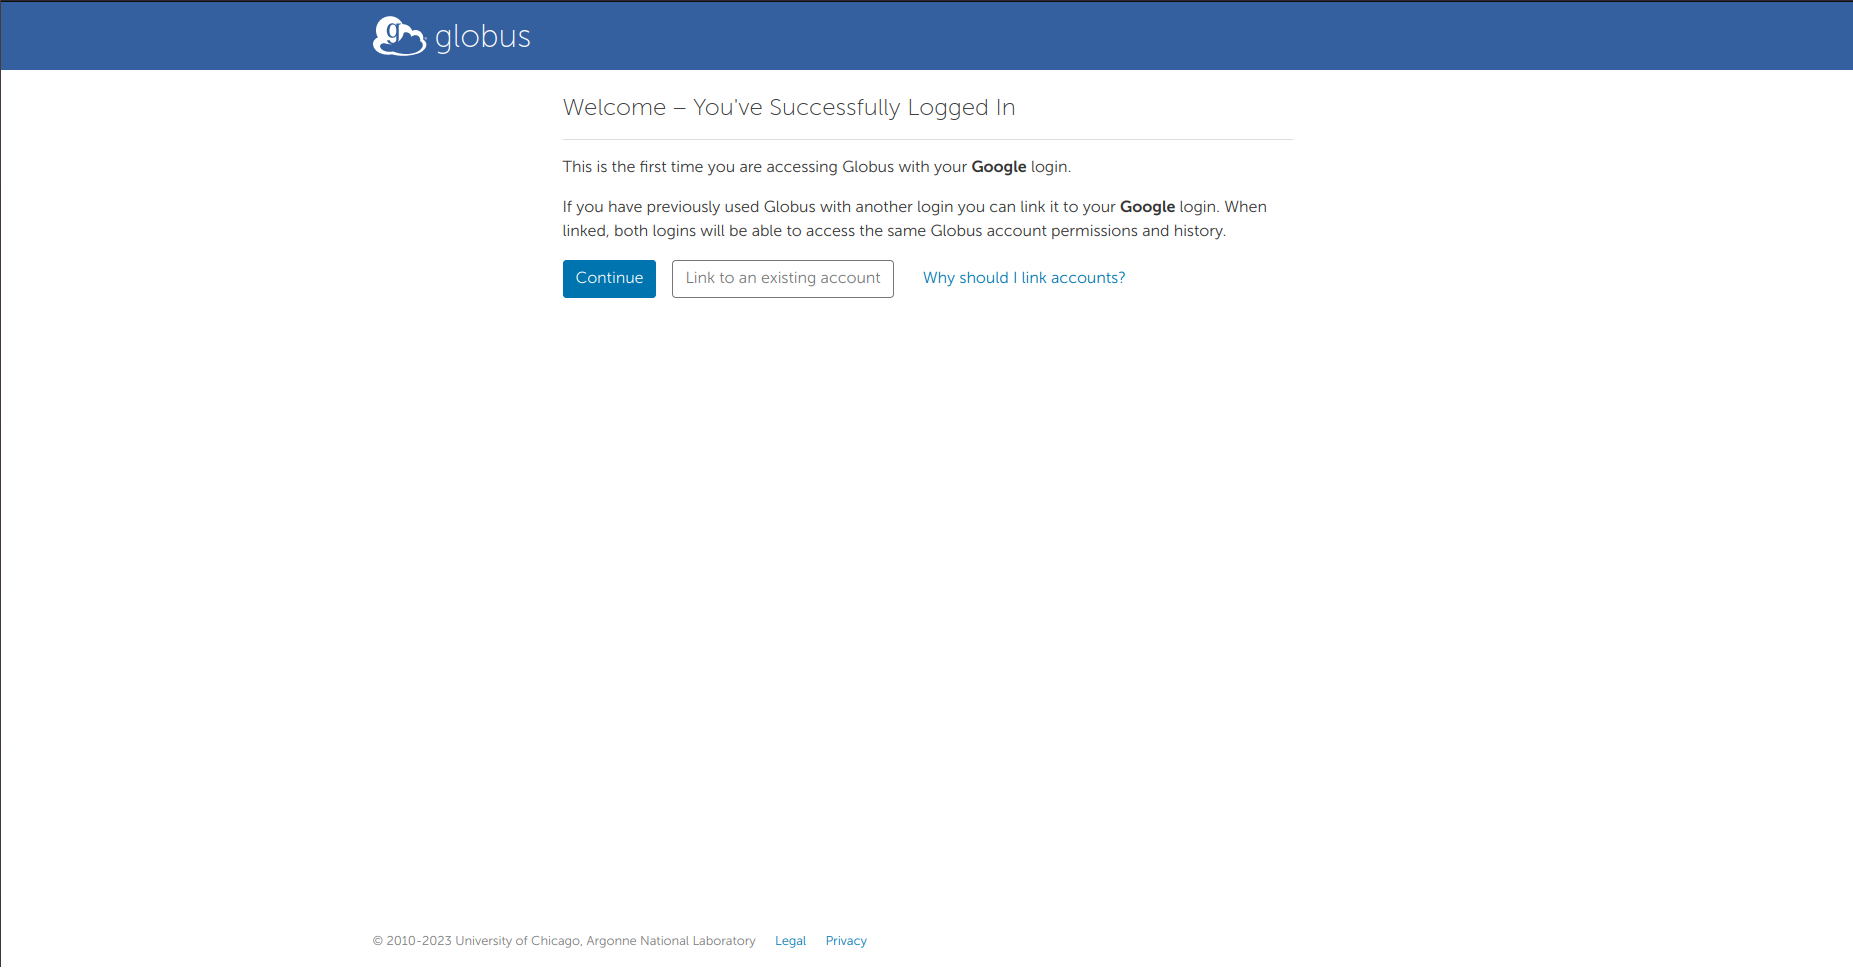
Here, you can connect the newly-created identity with other identities you might have. Otherwise, you can simply continue to the following page.
2. Access the data
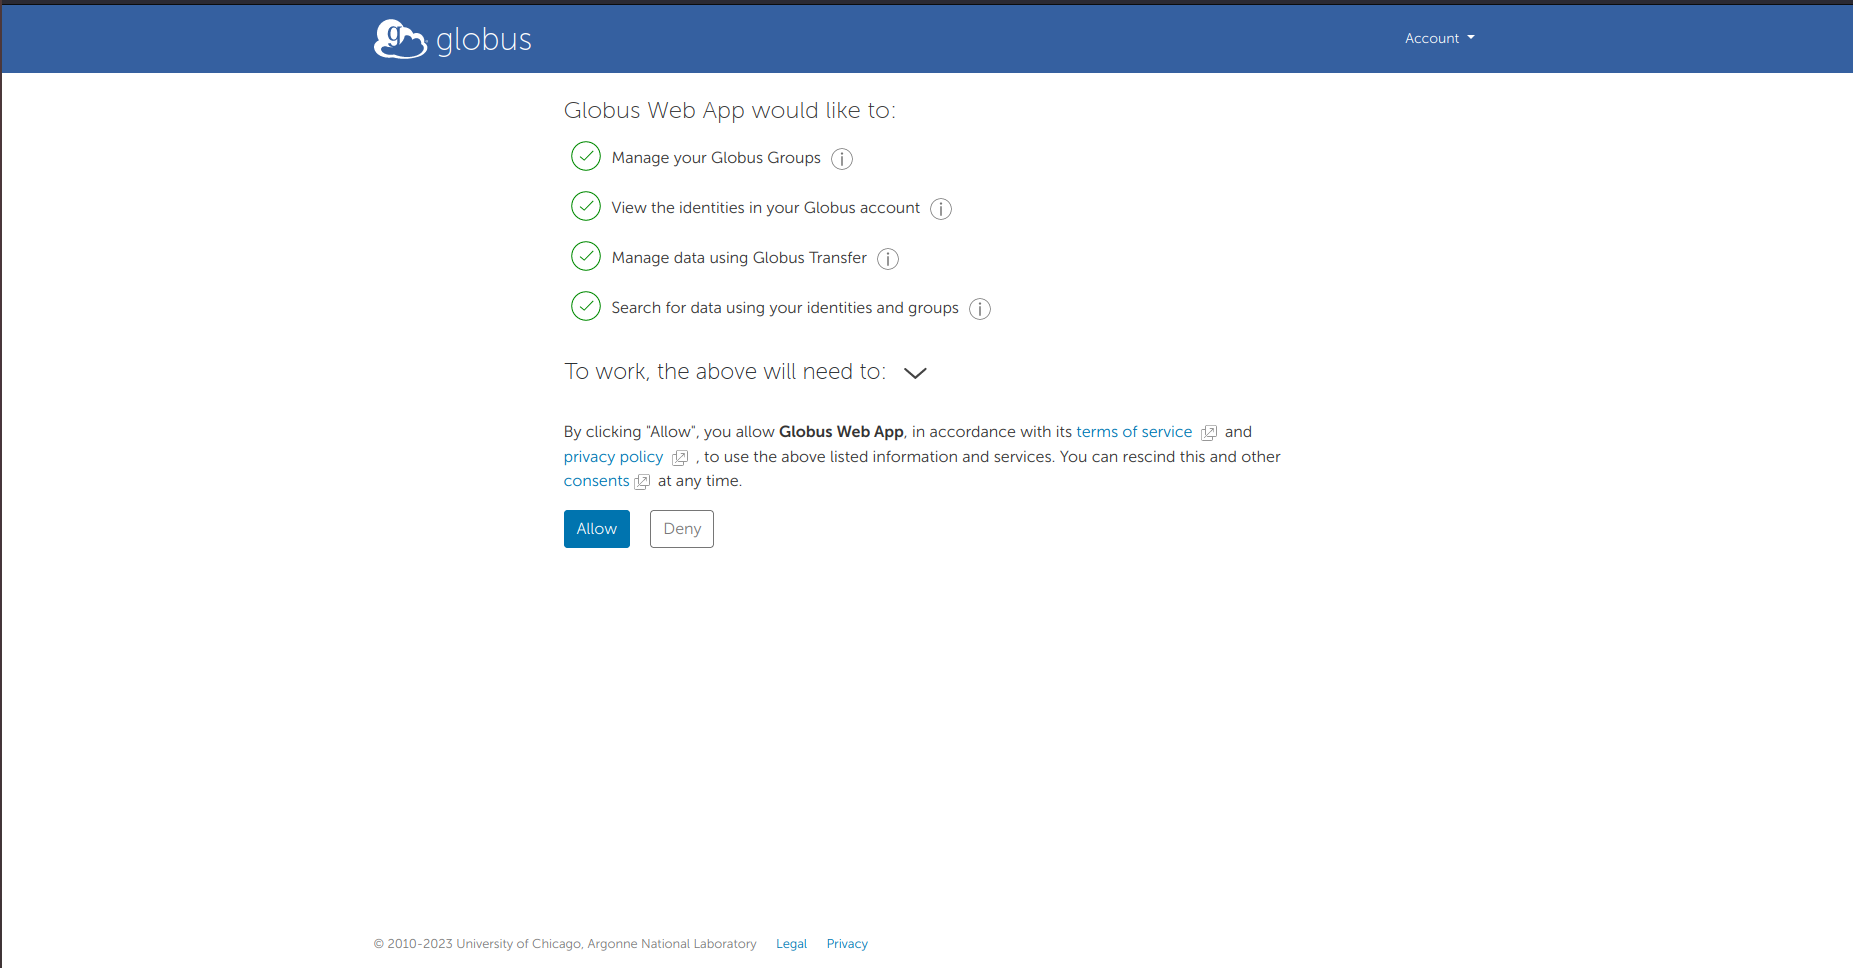
Here you need to accept the displayed authorization requests, which are necessary in order to access the Thesan data. After this step, you will be brought to the page displaying the details of the 'Globus collection' containing the Thesan data.
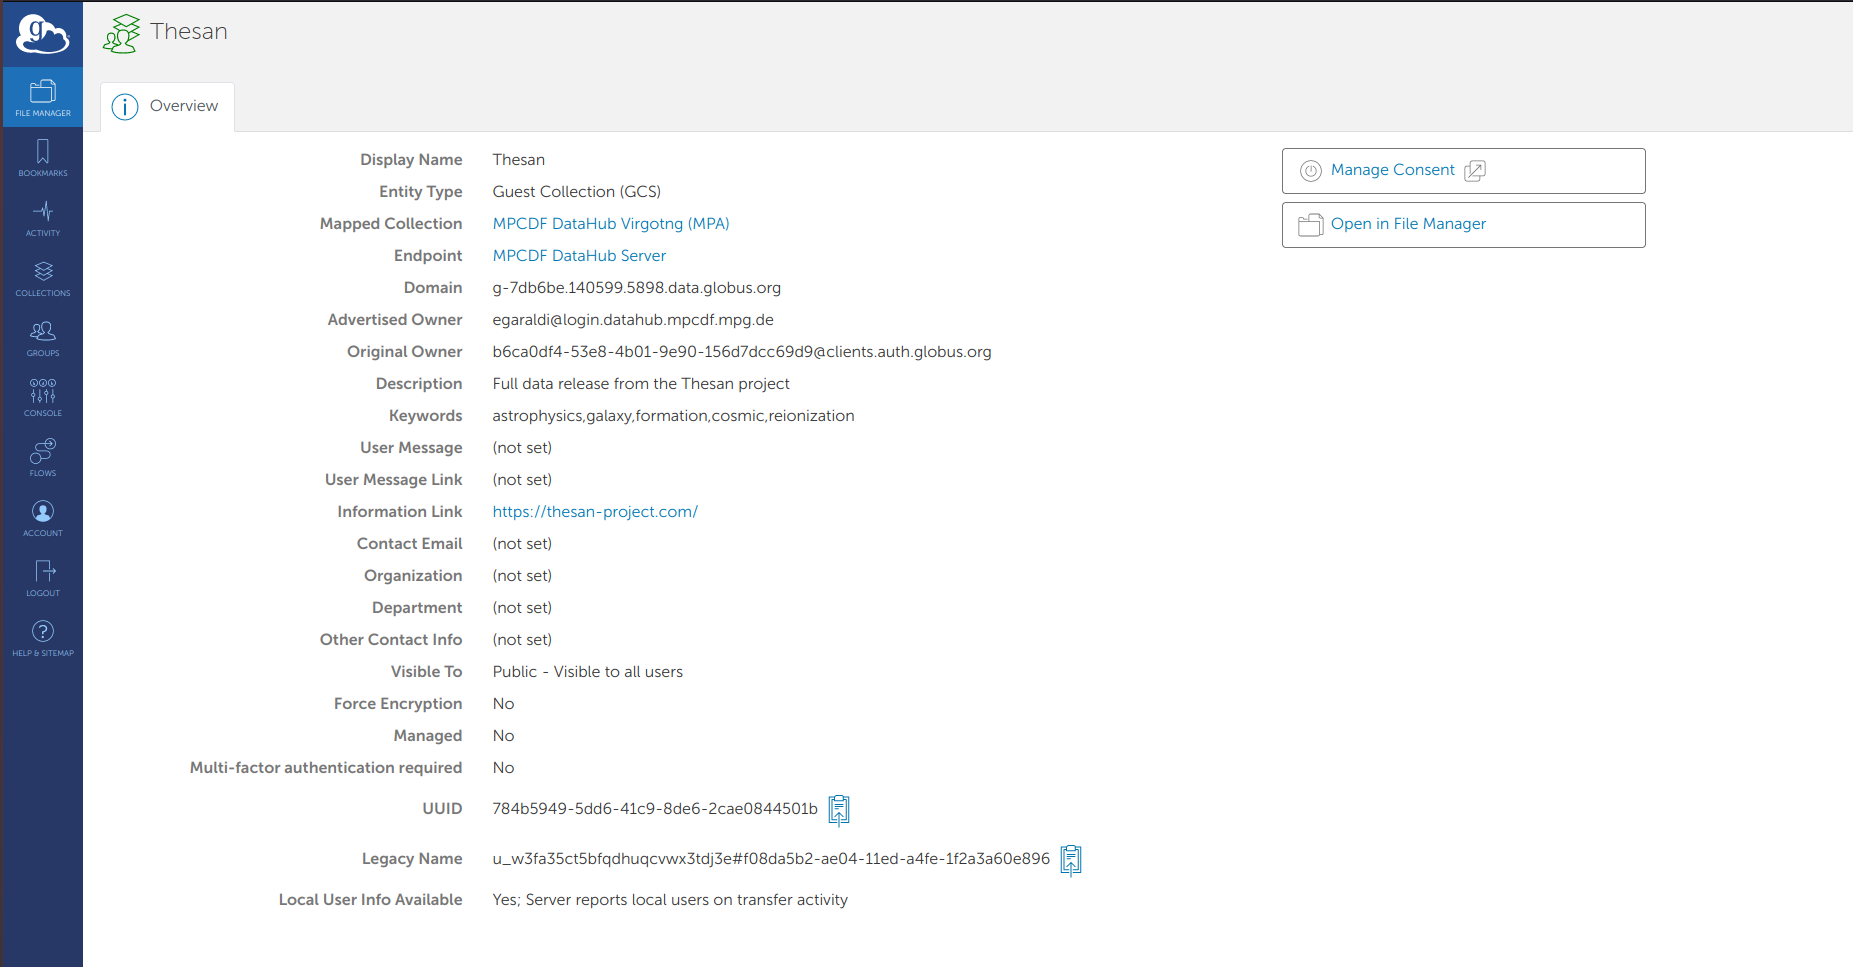
Finally, by clicking on 'Open in File Manager' (top right) you will be brought to the page displaying the actual content.
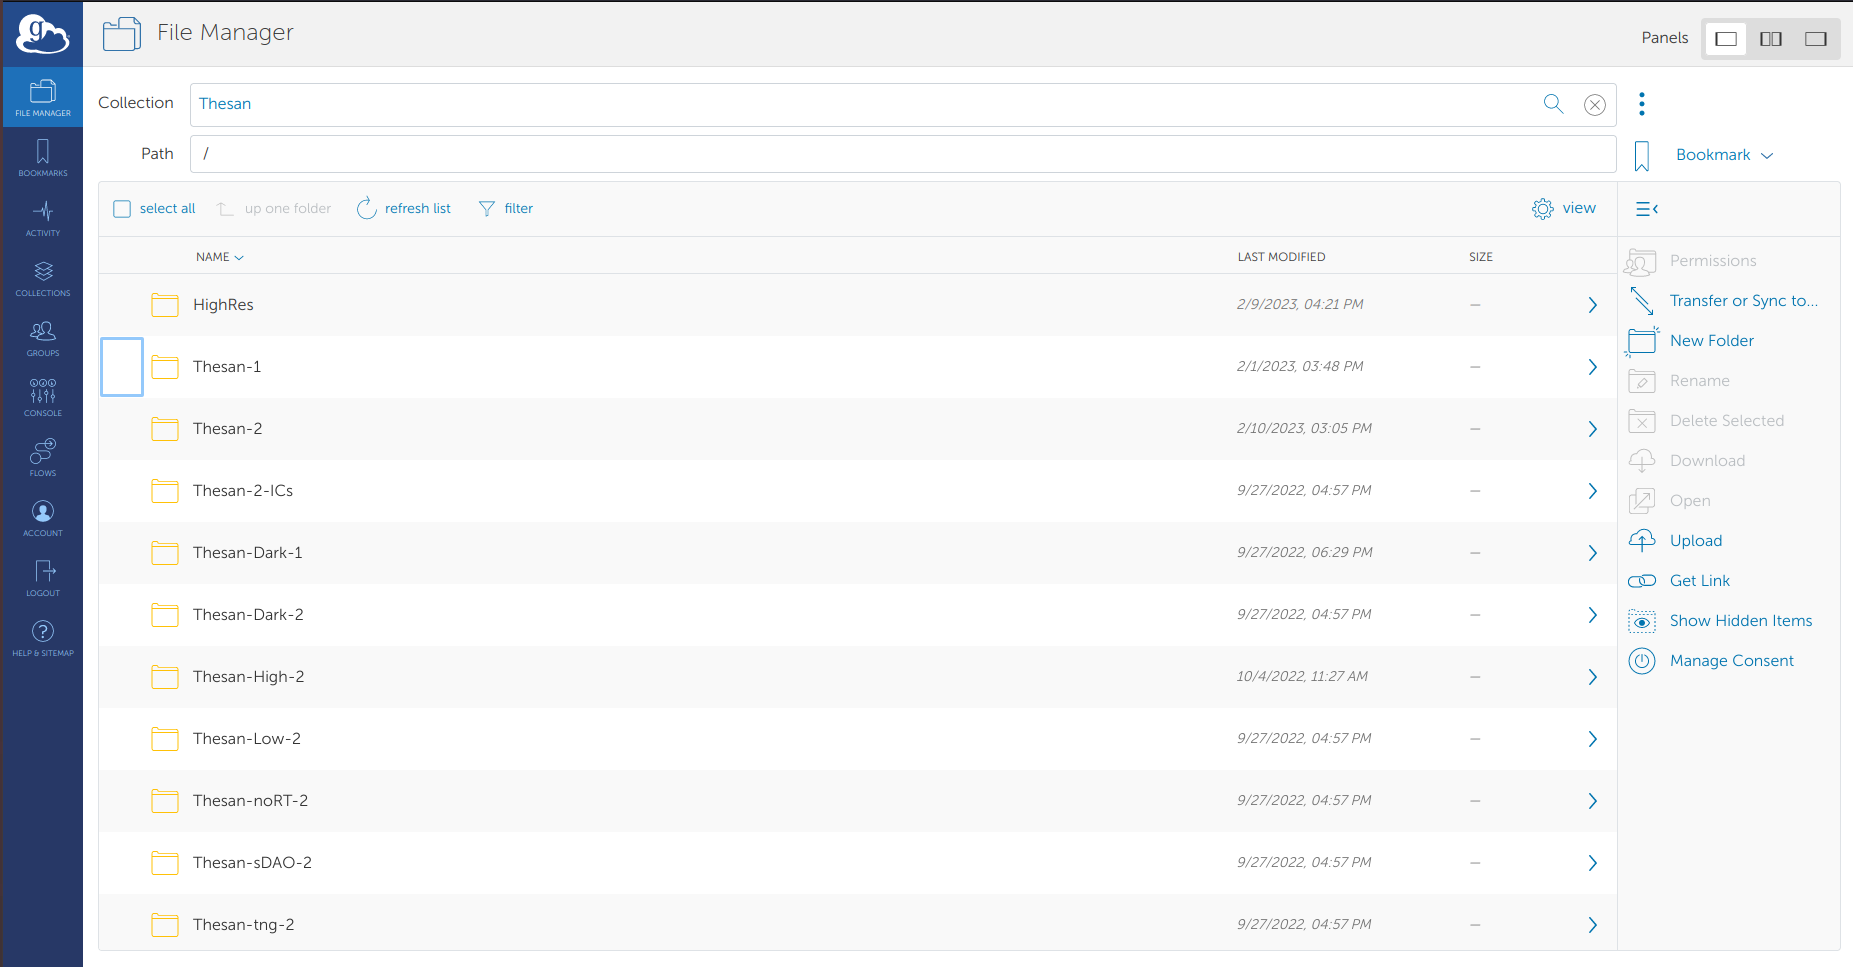
Here, you can navigate and select folders, and perform operations on them (only read persmission) using the menu on the right side of the page.
3. Add your endpoint and transfer data
You can now add personal endpoints (machine connected to the internet where the Globus App ha been installed) following the official documentation. This will allow you to initialize and customize file transfer to your endpoint through the browser-based interface.
